
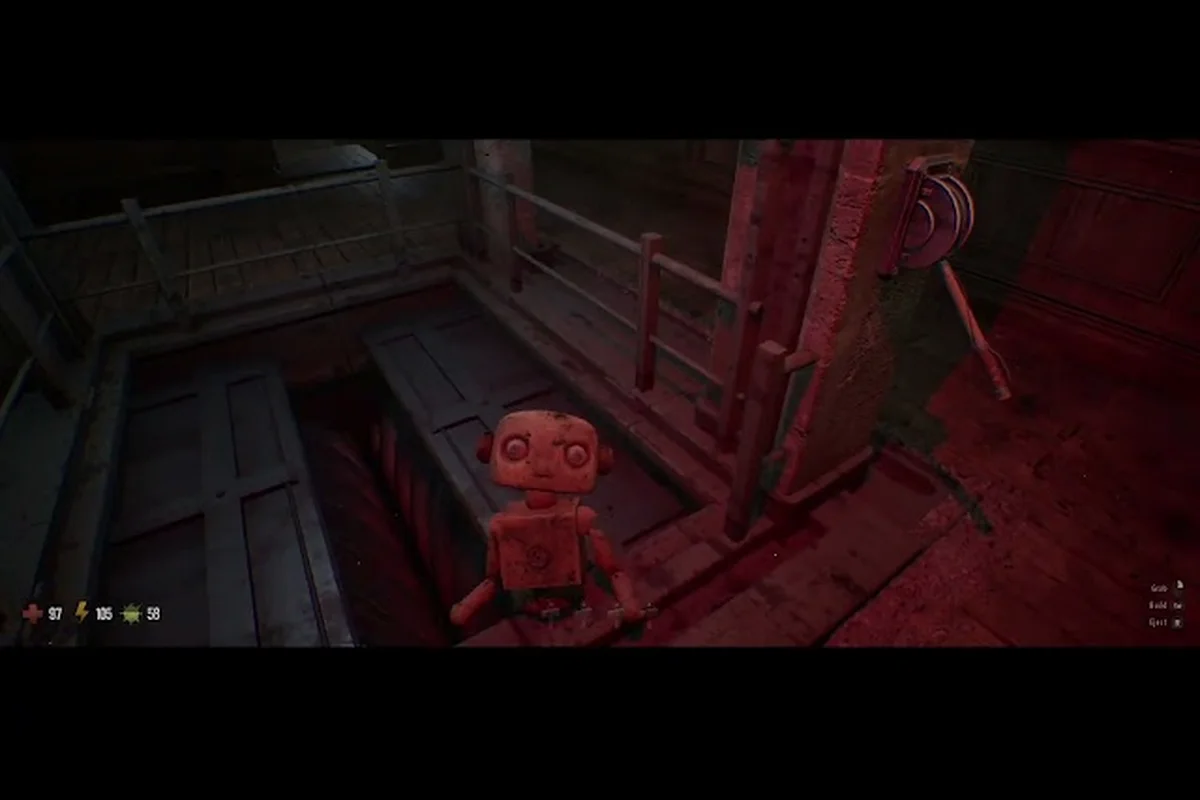
Descending into the scorched ruins of GRAIN ROT means facing a shifting roster of Corrupted horrors, and knowing which threats demand respect versus which ones you can brute-force is the difference between extracting with loot and feeding the rot. This grain rot enemy tier list ranks every confirmed threat from trivial to run-ending, while breaking down deep layer boss mechanics, enemy weaknesses, and the best weapons to bring for each encounter.
The game launched August 7, 2026 on Steam after a 350K+ demo download run, and the community has already mapped out which enemies punish unprepared squads. Whether you are farming early floors or pushing into the deep layer for endgame furniture, this guide gives you the tactical edge.
Grain Rot Enemy Tier List Overview
The Corrupted come in three broad threat categories: standard chaff, elite variants, and boss encounters. Based on community testing from the official Discord and early access playthroughs, we have ranked every confirmed enemy into five tiers that reflect solo and co-op viability.
S-Tier enemies are run-enders that demand specific counters. A-Tier threats are dangerous but manageable with proper positioning. B-Tier enemies punish careless play but fold to basic tactics. C-Tier creatures are minor obstacles. D-Tier enemies are essentially free loot pinatas. Use this ranking to set your loadout priorities: build counters for the S and A tiers first, then let the lower tiers dictate which fights you can safely skip.
| Tier | Enemy | Threat Level | Best Counter | Notes |
|---|---|---|---|---|
| S | The Hollow Warden | Extreme | Fire Axe + Molotov | Deep layer boss, regenerates |
| S | Corrupted Vessel | Extreme | Shotgun + Stun Trap | Mimics player abilities |
| A | Sporeback Brute | High | Piercing Spear | Armor breaks after 3 hits |
| A | Ember Crawler | High | Crowbar + Backstep | Explodes on death |
| B | Rusted Stalker | Medium | Pistol + Flashlight | Weak to headshots |
| B | Grime Swarm | Medium | Flamethrower | Splits when damaged |
| C | Scorch Rat | Low | Any melee | Dies in one hit |
| D | Ash Pupa | Minimal | Fists | Purely environmental |
The S-Tier Corrupted Vessel deserves special attention because it directly counters your build. According to player reports, this enemy copies the weapon type you are holding, so switching to a low-tier weapon before engaging can trivialize the fight. This counter-intuitive trick works because the copied weapon inherits the stats you were holding when the corruption took hold, and a weak weapon means a weak copy.
Deep Layer Boss Patterns and Weaknesses
The deep layer boss encounters are where GRAIN ROT separates casual extractors from veterans. Each boss has distinct attack patterns that loop in predictable sequences, and learning these loops is the core of the grain rot boss guide. Treat each boss as a rhythm puzzle: observe, react, then punish, and you will turn what feels like an impossible fight into a repeatable farming route.
The Hollow Warden
This boss patrols the third stratum of the deep layer and serves as the current endgame gatekeeper. The Hollow Warden has four distinct phases, each triggered at 75%, 50%, and 25% health thresholds. Between phases he summons Sporeback minions and sweeps the arena with a rotating beam, so timing your damage between patterns matters more than raw DPS.
| Phase | Health % | New Attack | Counter-Play |
|---|---|---|---|
| 1 | 100-75% | Scythe Sweep | Backstep through the gap |
| 2 | 75-50% | Rot Projectiles | Break line of sight |
| 3 | 50-25% | Summon Sporebacks | Kill adds within 10 seconds |
| 4 | 25-0% | Enrage + Regeneration | Burn phase, all damage counts |
The regeneration mechanic in phase 4 is what catches most squads off guard. If you stop dealing damage for more than five seconds, the Hollow Warden recovers 2% of its health per second. Community reports suggest bringing at least two damage-over-time sources to maintain pressure during this phase.
Corrupted Vessel Attack Patterns
This boss is unique because it scales to your squad composition. The Corrupted Vessel mirrors the most-used weapon in your group, which means a squad of shotgun users faces a shotgun-wielding nightmare. The grain rot boss patterns here are entirely reactive, so you must adapt mid-fight. The key weakness is stun accumulation. While the Vessel has high armor, every successful melee hit builds stun buildup, and at 100 stun it becomes vulnerable for four seconds. Coordinated squads can chain stuns to skip entire attack cycles.
Enemy Weakness Chart and Damage Types
Understanding the grain rot enemy weakness system is critical because every enemy has a damage type they resist and one they are vulnerable to. The game currently supports four damage types: slashing, piercing, blunt, and fire. Matching your weapon to the vulnerability can increase effective damage by 25-40%, which often shaves a full minute off deep-layer clear times.
| Enemy | Weak To | Resists | Immune |
|---|---|---|---|
| Hollow Warden | Fire | Slashing | None |
| Corrupted Vessel | Blunt | Piercing | None |
| Sporeback Brute | Piercing | Blunt | Fire |
| Ember Crawler | Blunt | Fire | None |
| Rusted Stalker | Fire | Slashing | None |
| Grime Swarm | Fire | Piercing | Blunt |
| Scorch Rat | Any | None | None |
| Ash Pupa | None | All | Blunt |
The fire damage type is the most universally useful because only one enemy resists it, and several S-Tier threats are vulnerable to it. This is why the Molotov and Flamethrower rank among the best weapons in the current meta. Piercing damage shines against armored targets like the Sporeback Brute, but falls flat against the Grime Swarm which splits into smaller fragments when hit by stabbing attacks. Always check the enemy type before committing to a weapon loadout.
Best Weapons for Enemy Encounters
The grain rot best weapons discussion always circles back to versatility versus specialization. While the weapons tier list covers every option in detail, this section focuses specifically on which weapons excel against the enemy roster. According to GRAIN ROT on Steam, the game’s official store page lists grain rot as a Tier 3 enemy, with its damage output and health pool calibrated to challenge mid-game players.
Top Tier Weapon Choices
| Weapon | Damage Type | Best Against | Acquisition |
|---|---|---|---|
| Fire Axe | Slashing + Fire | Hollow Warden, Grime Swarm | Craft at Outpost Level 3 |
| Pump Shotgun | Blunt | Corrupted Vessel, Ember Crawler | Deep layer loot room |
| Piercing Spear | Piercing | Sporeback Brute, Rusted Stalker | Vendor purchase |
| Flamethrower | Fire | All S-Tier, Grime Swarm | Rare drop from Warden |
| Crowbar | Blunt | Ember Crawler, Scorch Rat | Starter weapon upgrade |
The Fire Axe is the community favorite because it applies both slashing and fire damage, covering two weakness categories simultaneously. However, it has a slow swing speed, so you need to master the backstep timing. For the deep layer boss fights specifically, the Pump Shotgun with stun mods is the highest DPS option against the Corrupted Vessel, while the Flamethrower maintains the burn pressure needed to counter the Hollow Warden's regeneration.
Weapon Synergy with Vessels
Your choice of vessel dramatically affects weapon performance. The vessels guide explains the stat system in depth, but the key takeaway is that Agility-focused vessels excel with the Piercing Spear, while Strength vessels maximize the Fire Axe's damage. The best perks for enemy hunting include Stun Mastery, which increases stun buildup by 25%, and Burn Enhancement, which extends fire duration by 40%. Check the best perks guide for full build recommendations.
How to Beat Boss Encounters: Step-by-Step
This grain rot how to beat boss section provides a universal framework that works for every current boss encounter. While each boss has unique patterns, the preparation loop remains consistent. Step 1: Scout the arena. Enter the boss room and immediately identify escape routes. Every boss arena in GRAIN ROT has at least two exits, and you need to know where they are before the fight starts.
Step 2: Pre-buff with consumables. Apply fire resistance or damage buffs before triggering the boss. The Ember Salve consumable reduces fire damage by 30% and is essential for the Hollow Warden fight. Consumables are scarce at depth, so spend them only after you have confirmed the boss is committed to the fight and you have an escape corridor open.
Step 3: Learn the first attack pattern. Do not attack immediately. Spend the first 20 seconds dodging and observing which attack the boss leads with. This information tells you which counter-play to prioritize. Most players die in the first 20 seconds of the Warden fight because they attack before they understand the telegraph, so patience here is the cheapest survival tool.
Step 4: Apply the weakness. Switch to the enemy's vulnerable damage type and begin the damage rotation. Remember that stun buildup resets after 10 seconds without hits, so maintain consistent pressure. Pairing a blunt weapon with the fire vulnerability deals damage on two tracks at once, and it keeps the boss locked in its punishable recovery animation longer.
Step 5: Manage adds. When the boss summons minions, kill them within 10 seconds or they buff the boss. The Sporeback Brute adds give the Hollow Warden a 15% damage increase if left alive. Assign one teammate to add-clear duty before the fight starts so the damage buff never stacks past one application during the most intense phases.
Step 6: Execute the finish. In the final phase, commit all cooldowns and consumables. The boss enrage timers mean fights become unwinnable after roughly 3 minutes in the final phase, so burst damage wins. Save your strongest consumable for this window instead of popping it early, because the enrage timer makes the final stretch a pure damage race.
Solo Versus Co-op Adjustments
Solo players need to prioritize kiting over DPS, because boss health scales 40% higher in co-op but the aggro system allows for easier backstabs. The Corrupted Vessel is significantly harder solo because its weapon mirroring punishes single-target loadouts. Co-op squads should designate one player as the stun specialist with blunt weapons and stun mods, while others focus on damage. This division of labor makes the Hollow Warden fight dramatically easier because the regeneration phase becomes manageable with sustained pressure.
Enemy Spawn Patterns and Ambush Prevention
Understanding where enemies spawn is half the battle. The enemy spawns guide covers ambush mechanics in detail, but the core principle is that Corrupted enemies spawn in waves tied to loot room proximity. The Grime Swarm is the most common ambush enemy, dropping from ceiling vents when you approach high-value furniture. The Rusted Stalker prefers dark corridors and will stalk you for up to 30 seconds before striking.
| Location | Common Enemies | Ambush Trigger | Loot Quality |
|---|---|---|---|
| Floor 1-2 | Scorch Rat, Ash Pupa | None | Common |
| Floor 3-4 | Rusted Stalker, Grime Swarm | Loot room entry | Uncommon |
| Floor 5-6 | Sporeback Brute, Ember Crawler | Furniture interaction | Rare |
| Deep Layer | All S-Tier | Boss arena entry | Epic |
The deep layer is the only location where you encounter the Hollow Warden and Corrupted Vessel in the same run, and community data suggests this combination has a 15% spawn rate as of the launch patch. Because the two fights demand opposite loadouts, most veteran squads split their team into a stun-focused group and a fire-focused group before descending.
Frequently Asked Questions
What is the hardest enemy in GRAIN ROT?
The Hollow Warden is the hardest enemy because its phase 4 regeneration mechanic punishes low-DPS builds. You need sustained fire damage to counter the 2% health regeneration, which makes the Flamethrower or Fire Axe essential for this deep layer boss encounter.
What weapons work best against the Corrupted Vessel?
The Pump Shotgun with stun mods is the strongest counter because blunt damage builds stun quickly, and the Vessel becomes vulnerable at 100 stun. Avoid piercing weapons since the Vessel resists that damage type, and coordinate with teammates to chain stuns.
How do I beat the Hollow Warden solo?
Solo players should prioritize kiting and fire damage. Use the Flamethrower to maintain burn pressure, and always keep line of sight broken during the rot projectile phase. The fight takes longer solo, but the regeneration mechanic is manageable if you never stop dealing damage.
What is the grain rot enemy weakness for Sporeback Brutes?
Sporeback Brutes are weak to piercing damage and resist fire, so the Piercing Spear is the optimal weapon. Their armor breaks after three hits, exposing a weak point that takes 50% bonus damage. Avoid blunt weapons since the armor absorbs most of that damage type.
Which enemy should I farm for rare drops?
The Ember Crawler tops the grain rot enemy tier list for rare drops, with roughly 12% epic furniture plans per community data. Farm floors 5-6, where they swarm; backstep their death explosion. For pure efficiency, skip armored husks—their drop rate sits below 4%.