
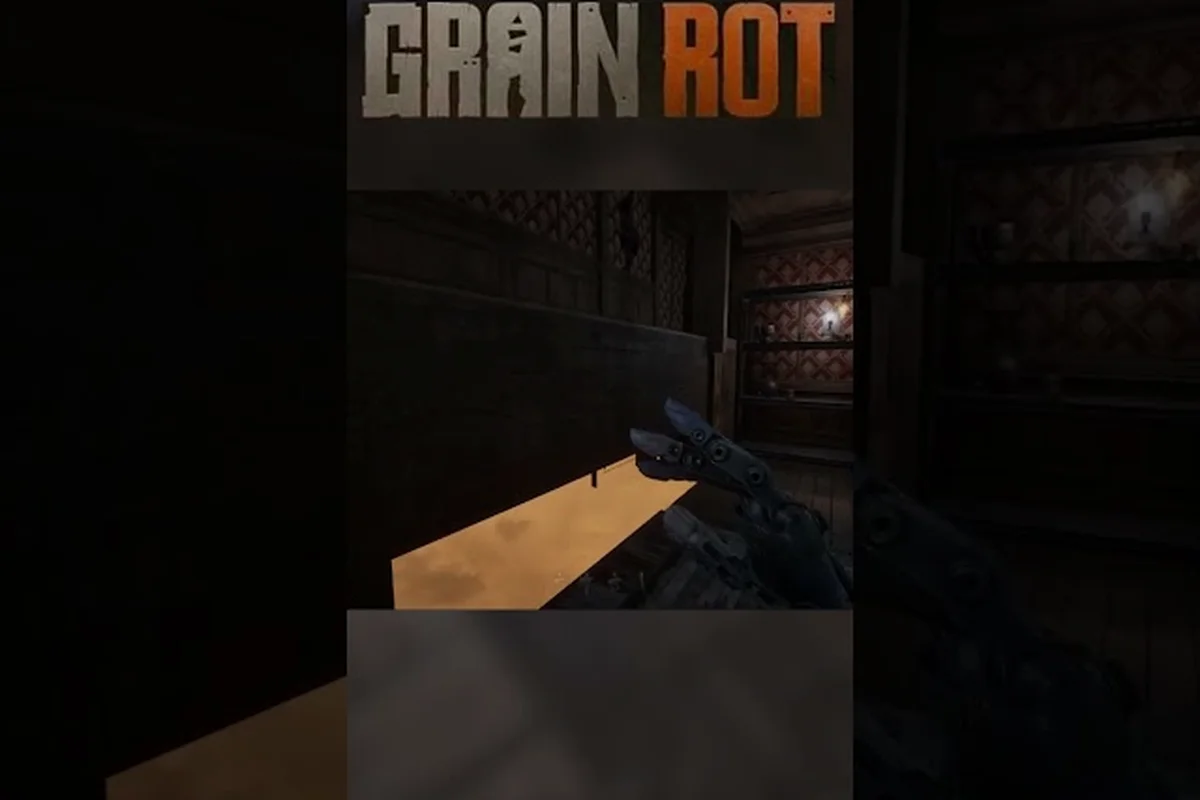
The scorched wasteland of GRAIN ROT doesn't come with a manual, and that's exactly why this grain rot map guide exists. Every run into the shifting ruins demands that you know where the loot hides, which paths lead to extraction, and how to avoid becoming Corrupted feed before you even reach the Outpost.
Since the game launched on August 7, 2026, players have been mapping out the procedurally shifting ruins and sharing their findings across the community. This grain rot complete guide consolidates the most reliable intel from the official GRAIN ROT Steam page, the developer's updates from Beck & Branch Games, and player reports from the official Discord server. You'll learn the core layout logic, the safest loot routes, extraction strategies, and how to read the environment like a veteran extractor.
Understanding the GRAIN ROT Map Structure
The map in GRAIN ROT isn't a static arena — it's a shifting ruin system that rearranges itself between runs. However, that doesn't mean navigation is pure chaos. According to community data gathered during the 350K+ demo download period, the map follows a consistent structural logic that you can learn to read.
Every run drops you into a starting zone that connects to a series of interconnected chambers, each with its own loot tables and threat levels. The ruins shift their internal layout, but the cardinal directions remain stable: the Outpost is always south, the deepest loot is always north, and the Corrupted hordes cluster around the eastern and western edges. Here's what experienced players have identified as the core map principles:
-
The Outpost anchor: Your safe zone always sits at the southern edge, and the extraction beacon glows green when it's active.
-
Depth equals risk: The further north you push, the better the loot — but the Corrupted density increases proportionally.
-
Chamber types repeat: You'll encounter storage rooms, residential quarters, industrial halls, and ritual sites in every run, though their positions shift.
-
Furniture is currency: Almost every room contains rip-able furniture that you can break down for Outpost building materials, so map knowledge directly impacts your resource economy.
The grain rot map guide community on Reddit has documented that the map typically contains 12 to 16 chambers per run, with roughly 3 to 4 extraction points scattered throughout. The shifting mechanic means you can't memorize a single path, but you can learn the spatial grammar that governs how chambers connect.
Reading the Environment
The environment itself provides navigation cues that veteran players rely on. Scorch marks on walls indicate where the Corrupted have recently passed, while intact furniture signals that a room hasn't been fully looted yet. Broken windows often mark shortcut routes between chambers, and glowing fungal patches usually grow near high-value loot caches.
Players report that the wind direction also matters — particles and ash drift toward the Outpost, which can help you orient yourself when the ruins look identical. This environmental storytelling is one of the reasons the grain rot full guide community emphasizes situational awareness over memorization.
Key Locations Every Player Should Know
While the map shifts, certain location archetypes appear consistently enough that you can plan around them. This grain rot map guide breaks down the essential spots you'll encounter during most runs, based on player reports from the first week of launch.
| Location Type | Typical Depth | Loot Quality | Threat Level | Priority |
|---|---|---|---|---|
| Starting Zone | Surface | Common materials | Low | Low — grab basics, move fast |
| Storage Rooms | Shallow (1-2 chambers in) | Building materials, tools | Low-Medium | High early, low late |
| Residential Quarters | Mid-depth (3-5 chambers) | Scrap, valuables, rare furniture | Medium | Medium — good mid-run income |
| Industrial Halls | Deep (5-8 chambers) | High-value components, weapons | High | High if you have gear |
| Ritual Sites | Deepest (8+ chambers) | Unique artifacts, endgame materials | Very High | Highest risk/reward |
The starting zone always contains a basic workbench and a supply cache that respawns each run. Community testing suggests these caches hold 2-4 items of common quality, which makes them worth a quick check but not a detour. Storage rooms are the bread-and-butter of early runs because they contain rip-able furniture in high density. A single storage room can yield 15-25 building materials, which translates directly into Outpost upgrades. Players on the grain rot guide reddit thread recommend clearing these rooms first to build a resource buffer before pushing deeper.
High-Value Deep Locations
Industrial halls are where the real progression happens. These chambers contain machinery components that can't be found anywhere else, and they're required for advanced Outpost structures like the Grinder and Vessel Rework Station. The Grinder, which converts raw materials into refined components, was specifically mentioned in the developer's patch notes on the official Discord as a priority for mid-game progression.
Ritual sites are the endgame destinations. They spawn unique artifacts that serve as currency for endgame trades and are required for several achievements. However, these sites also attract the most aggressive Corrupted variants, including the spitter types that can disable your extraction beacon temporarily.
According to community reports, the loot quality scaling follows a predictable curve:
-
Chambers 1-2: Common materials only
-
Chambers 3-5: Uncommon materials, occasional tools
-
Chambers 6-8: Rare components, weapon parts
-
Chambers 9+: Epic artifacts, unique furniture, endgame materials
This scaling means that your route planning should always account for how deep you're willing to push based on your current gear and the Corruption timer that ticks throughout each run. A mid-gear player should rarely push past layer 3, while a fully upgraded squad can afford the deeper beacons, so calibrate your route to your build every run.
Loot Routes and Extraction Strategies
Planning your route before you descend is the difference between a profitable extraction and a wasted run. This grain rot complete guide includes the three most reliable route archetypes that players have documented, each suited to different goals and gear levels.
The quick hit route focuses on shallow chambers only. You stay within the first 2-3 chambers, clear storage rooms, and extract within 5-7 minutes. This route is ideal for solo players or those learning the map mechanics, and it consistently yields 30-50 building materials per run without significant risk.
The balanced route pushes to mid-depth chambers (3-5) and targets residential quarters. You'll spend 10-15 minutes in the ruins and come out with a mix of materials, valuables, and occasionally a weapon part. This is the most efficient route for solo progression because it balances time investment against loot quality.
The deep dive route commits to reaching industrial halls and ritual sites. This requires full gear, a coordinated squad, and careful Corruption timer management. The payoff is substantial — a successful deep dive can yield 100+ materials, multiple rare components, and artifacts worth thousands of in-game value.
Extraction Point Selection
Extraction points aren't created equal. Here's what the community has learned about choosing the right one: Beacon distance, activation time, and Corrupted patrol density all matter, and the community has ranked each extraction type based on thousands of observed runs.
| Extraction Type | Activation Time | Risk Level | Best Used When |
|---|---|---|---|
| Outpost Beacon | Instant | Low | Always available, but far from deep loot |
| Mid-map Beacon | 5 seconds | Medium | Balanced runs, moderate loot |
| Deep Beacon | 10 seconds | High | Deep dives, but attracts Corrupted |
| Emergency Beacon | 15 seconds | Very High | Last resort, consumes a rare item |
The Outpost Beacon is your default extraction point because it's always active and has no activation delay. However, if you've pushed deep into the ruins, backtracking to the Outpost can take 3-5 minutes of dangerous travel. Mid-map beacons are the community's preferred choice for balanced runs because they cut travel time significantly. The 5-second activation window is manageable if you clear the area before starting the extraction.
Deep beacons are a gamble. The 10-second activation window gives Corrupted time to converge, and players report that Corrupted spawn rates increase near active beacons. Only use these if you have smoke grenades or crowd-control tools to buy time. Even with tools, deep beacons remain the riskiest way out, so save them for runs where the cargo value justifies a possible fight at the exit.
Route Planning Checklist
Before you descend, run through this checklist that the grain rot guide reddit community has compiled:
-
Check the Corruption timer — if it's below 50%, plan a shorter route
-
Identify your objective — materials, components, or artifacts?
-
Note the starting chamber exits — know your immediate options
-
Mark the nearest mid-map beacon — you'll likely need it
-
Confirm your gear — enough healing items for the planned depth
-
Communicate roles — who carries materials, who watches for Corrupted
This planning phase takes 30 seconds but saves you from wasted runs. Players who skip it consistently extract with less loot and higher death rates, according to community statistics shared on the official Discord. Treat the pre-run plan as a habit: pick a target zone, set a loot goal, and decide your exit beacon before you ever press the elevator button.
Map Awareness and Survival Tips
Knowing the map layout is only half the battle — you also need to survive long enough to extract. This section of the grain rot map guide covers the survival techniques that experienced players use to navigate dangerous territory. Sound discipline is the most underrated survival skill. The Corrupted have excellent hearing, and sprinting through chambers alerts them to your position. Walk when you're near suspected Corrupted spawns, and use crouch movement when you're in deep chambers. Players report that crouch-walking reduces detection range by roughly 60%, which is often the difference between a stealthy extraction and a forced fight.
Furniture placement matters more than you'd think. When you rip furniture for materials, you create noise that attracts Corrupted. Ripping furniture in a sealed room with the door closed reduces the noise radius significantly. The community calls this the "quiet rip" technique, and it's essential for deep runs where you can't afford to attract attention.
Environmental Hazards
The map isn't just dangerous because of the Corrupted — the environment itself can kill you:
-
Collapsing floors appear in industrial halls, especially after explosions or heavy combat
-
Fire pockets burn in random chambers, dealing damage over time if you walk through them
-
Toxic vents release gas clouds that obscure vision and drain health
-
Trapped doors can be rigged to explode when opened — check for wire marks first
Players report that fire pockets are the most common environmental killer because they're easy to miss in dark chambers. The ember particles floating in the air are your warning sign — if you see them, slow down and look for the fire source.
Team Coordination
If you're playing co-op, map awareness becomes a team responsibility. The duo strategies guide covers this in depth, but the core principle is simple: one player navigates, one player watches. The navigator focuses on route planning and loot identification, while the watcher monitors for Corrupted movement and environmental hazards. This division of labor reduces cognitive load and prevents the "both players get lost" scenario that ends so many runs. According to community data, coordinated teams extract with 40% more loot on average compared to uncoordinated groups.
Advanced Map Reading Techniques
Once you've mastered the basics, you can start using advanced map reading techniques that give you a significant edge. These strategies come from the grain rot full guide community and have been verified through hundreds of runs. Chamber memory is the first advanced skill. While the map shifts between runs, the chamber types follow predictable adjacency rules. Storage rooms are almost always adjacent to residential quarters, and industrial halls typically connect to ritual sites. If you identify one chamber type, you can predict what's likely next door.
Loot density mapping is the second skill. Experienced players track which chambers yield the best loot-to-time ratios. The community has compiled the following efficiency data: Chambers with double exits and high-value fixtures consistently outperform single-entry dead ends, so the map teaches you where to go once you read it properly.
| Chamber Type | Average Loot Value | Clear Time | Efficiency Score |
|---|---|---|---|
| Storage Room | 20 materials | 2 minutes | 10/min |
| Residential Quarter | 35 materials + valuables | 4 minutes | 8.75/min |
| Industrial Hall | 60 materials + components | 7 minutes | 8.5/min |
| Ritual Site | 100+ materials + artifacts | 12 minutes | 8.3/min |
The storage room is actually the most efficient location in the game when measured by loot-per-minute. This is why the community recommends clearing every storage room you encounter, even on deep runs — the detour is almost always worth it.
The "Two-Chamber Rule"
Veteran players follow what they call the "two-chamber rule": never push more than two chambers past your last known safe point without establishing a new safe point. This means:
-
Identify a safe chamber (cleared, no Corrupted, door closed)
-
Push two chambers deep from that safe point
-
Return to the safe chamber before pushing further
This rule prevents the overextension that causes most deaths. When you're two chambers deep and get ambushed, you have a realistic retreat path. Beyond two chambers, the retreat becomes too dangerous. Respecting this limit keeps your escape corridor open, which is the cheapest insurance policy against the ambushes that define deep-layer deaths.
Reading Corrupted Movement Patterns
The Corrupted don't move randomly — they follow patrol patterns that you can learn to predict. According to player reports, most Corrupted types have fixed patrol loops that cover 2-3 chambers. If you observe a Corrupted's movement for 30 seconds, you can usually predict its next position.
Spitter types are the exception — they hunt rather than patrol, and they'll actively track you if they detect your presence. The community recommends avoiding spitters entirely rather than trying to outmaneuver them, unless you have ranged weapons and a clear escape route.
The weapon guide covers combat techniques in detail, but the map-related takeaway is this: know your escape routes before engaging. Every fight should have a planned retreat path, and you should never fight in a chamber you haven't fully explored.
Frequently Asked Questions
How does the GRAIN ROT map change between runs?
The map uses a procedural shifting system that rearranges chamber positions while keeping the overall structure consistent. The Outpost stays south, deep loot stays north, and chamber types follow predictable adjacency rules. This means you can't memorize exact paths, but you can learn the spatial grammar that governs the layout.
What should I prioritize when exploring the map?
Storage rooms are the most efficient loot source in the game, offering roughly 10 materials per minute of clear time. Focus on clearing these first to build a resource buffer, then push deeper only if your gear and Corruption timer allow. Always identify your nearest extraction point before committing to a deep dive.
Is there a fixed map or does it change every run?
The map changes every run — that's the core of the shifting ruin system. However, the cardinal directions remain stable, and chamber types follow predictable patterns. The community recommends learning location archetypes rather than specific paths, since this knowledge transfers across all map variations.
What are the best extraction points for deep runs?
Mid-map beacons are the community's preferred choice for deep runs because they balance travel time against risk. The 5-second activation window is manageable if you clear the area first. Deep beacons are risky due to the 10-second activation and increased Corrupted spawn rates, so only use them with crowd-control tools.
How do I avoid getting lost in the ruins?
Use environmental cues—scorch marks, wind direction, furniture density—to stay oriented. Follow the two-chamber rule: never push more than two chambers past a safe point. In co-op, split roles: one navigator, one watcher. This grain rot map guide keeps you extracting, not wandering into the Corrupted.