
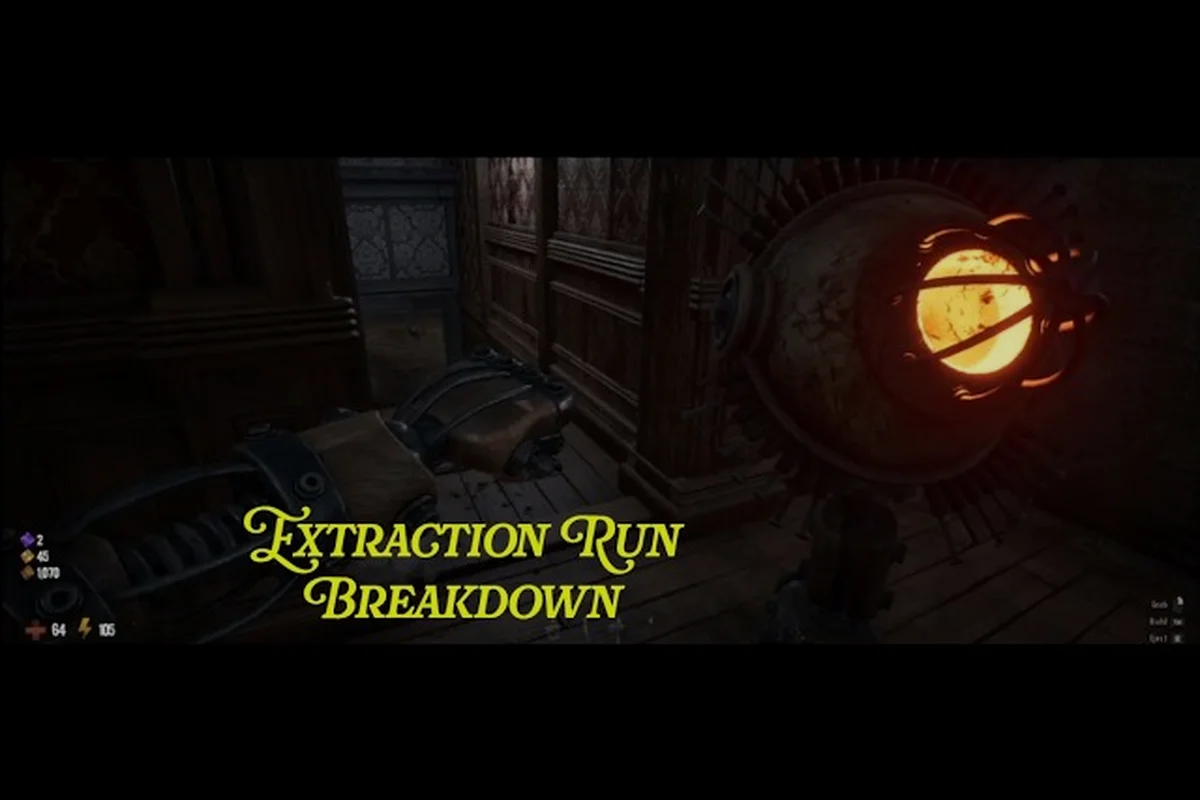
Building the perfect grain rot optimized build isn't about chasing the highest damage number — it's about matching your loadout to the descent depth, your squad composition, and the Corruption level that shifts with every patch. The game's extraction loop punishes overconfidence, so a build that shines on Floor 2 can get you killed by Floor 6.
This guide breaks down the best loadouts for every stage of progression, using community-tested data from the official Discord and Steam discussions. We'll rank weapons, perks, and vessel combos so you know exactly what to bring before you descend into the scorched ruins.
Why Your Build Needs to Evolve Across Descent Depth
The grain rot optimized build that carries you through early extraction runs falls apart once the Corrupted start spawning in greater numbers and the loot tables shift toward higher-tier furniture. According to community reports from the official Discord, the difficulty curve isn't linear — it spikes noticeably at Floor 4 and again at Floor 7, where elite enemy variants begin mixing with standard swarms. Your loadout needs to account for three distinct phases:
-
Early runs (Floors 1-3): Focus on stamina efficiency and salvage capacity — you're learning routes and building your Outpost economy.
-
Mid-game descents (Floors 4-6): Prioritize crowd control and burst damage — the Scorched Walkers start arriving in packs of five or more.
-
Endgame pushes (Floors 7+): Hybrid builds that balance single-target DPS for elites with AoE options for swarm control become mandatory.
The grain rot early build that most new players default to — stacking raw damage perks — works fine for the first few hours, but it creates bad habits. You'll waste stamina on overkills and miss extraction windows because you're carrying too much combat gear and not enough salvage space.
| Descent Phase | Floor Range | Primary Threat | Build Focus |
|---|---|---|---|
| Early | 1-3 | Scorched Walkers, small swarms | Stamina efficiency, salvage capacity |
| Mid | 4-6 | Mixed swarms, Ember Spitters | Crowd control, burst damage |
| Late | 7+ | Elite variants, Cinder Brutes | Hybrid DPS, AoE options |
Core Loadout Components for an Optimized Build
Before we dive into specific builds, you need to understand the three pillars that every grain rot optimized build rests on: weapon choice, perk allocation, and vessel selection. Each pillar feeds into the others — a top-tier weapon underperforms without the right perks, and the best perk combo wastes potential on the wrong vessel.
Weapon Selection and Damage Types
The weapon meta has shifted since launch. The Dropkick — a heavy melee option that launches enemies backward — has become a community favorite for its stamina efficiency and crowd-control utility. Players on the official Discord report that the Dropkick's knockback can interrupt Ember Spitter charge attacks, creating safe windows for your squad to close distance.
Ranged options like the Scorch Rifle remain strong for mid-game descents, but their ammo economy makes them risky for deep runs where every inventory slot matters. Community testing suggests that a hybrid approach — one melee weapon for swarm control and one ranged option for elite picks — outperforms pure melee or pure ranged builds.
Perk Synergies That Matter
The grain rot tier list community has converged on a few perk combinations that consistently outperform others:
-
Stamina Surge + Swift Recovery: This pairing lets you sprint between loot nodes without pausing, which translates directly to more salvage per run.
-
Heavy Hitter + Momentum: For melee-focused builds, this combo turns the Dropkick into a room-clearing tool that also refunds stamina on kills.
-
Scavenger + Deep Pockets: Essential for extraction-focused players who want to maximize furniture hauls without sacrificing combat readiness.
Vessel Choice and Upgrade Path
Your vessel determines your base stats and active ability. The Emberheart vessel, which grants a fire-damage aura, pairs exceptionally well with melee builds because it punishes enemies that get too close. The Ashbreaker, with its ground-slam ability, offers better burst damage for elite kills but leaves you vulnerable during the long recovery animation.
| Vessel | Best For | Active Ability | Synergy |
|---|---|---|---|
| Emberheart | Melee swarm control | Fire aura | Dropkick, Heavy Hitter |
| Ashbreaker | Elite burst damage | Ground slam | Scorch Rifle, Momentum |
| Scorchweaver | Ranged support | Fire bolt volley | Scavenger, Deep Pockets |
The Best Early Build for New Players
If you're just starting out, the grain rot early build should prioritize survivability and learning the extraction loop over raw damage. Your first few runs are about mapping routes, understanding spawn patterns, and figuring out which furniture pieces are worth carrying back to the Outpost.
Recommended early loadout:
-
Weapon: Rusted Cleaver (melee) — it offers consistent damage with low stamina cost, letting you practice attack windows without overcommitting.
-
Perks: Stamina Surge, Swift Recovery, Scavenger — this trio maximizes your uptime and salvage capacity.
-
Vessel: Wooden Vessel (starter) — don't upgrade until you've unlocked the Emberheart, which costs 500 gold at the Outpost shop.
The key insight here is that early runs should end with extraction, not with a full loot haul. According to community data, players who extract consistently in their first five runs build their Outpost economy 30% faster than those who push deep and die. The beginner mistakes guide covers this in detail, but the short version is: dying with a full inventory teaches you nothing except how to lose gear.
Mid-Game Build Optimization for Consistent Extractions
Once you've unlocked the Emberheart vessel and have a few thousand gold in the bank, it's time to transition to a grain rot optimized build that handles the Floor 4-6 difficulty spike. This is where most players hit their first wall — the Corrupted start spawning in larger numbers, and the Ember Spitters make ranged combat much more dangerous.
Recommended mid-game loadout:
-
Weapon: Dropkick (primary) + Scorch Rifle (secondary) — the Dropkick handles swarm control while the Scorch Rifle picks off elites from range.
-
Perks: Heavy Hitter, Momentum, Deep Pockets — this combo turns the Dropkick into a stamina-positive tool that also increases your carry capacity.
-
Vessel: Emberheart (upgraded) — the fire aura synergizes with your melee focus and punishes enemies that try to swarm you.
The grain rot endgame build starts taking shape here. You're no longer just surviving — you're optimizing for efficiency. Every perk point and upgrade should serve a clear purpose. The community tier list consensus is that the Dropkick + Emberheart combo is the strongest mid-game pairing because it covers both offense and defense without requiring perfect positioning.
| Build Component | Early Game | Mid Game | Endgame |
|---|---|---|---|
| Primary Weapon | Rusted Cleaver | Dropkick | Dropkick (upgraded) |
| Secondary | None | Scorch Rifle | Scorch Rifle (Tier 3) |
| Key Perks | Stamina, Scavenger | Heavy Hitter, Momentum | Full synergy set |
| Vessel | Wooden | Emberheart | Emberheart (maxed) |
Endgame Build: Pushing Past Floor 7
The grain rot late game build is where the game's depth really shows. At Floor 7+, you're facing elite Cinder Brutes that can one-shot a poorly geared player, and the extraction window shrinks as the Corruption spreads. This is also where the grain rot tier list maker tools become useful — you can theorycraft different perk combinations before committing your hard-earned gold.
Recommended endgame loadout:
-
Weapon: Dropkick (Tier 3 upgrade) — the upgraded version adds a fire-damage component that stacks with your Emberheart aura.
-
Perks: Heavy Hitter, Momentum, Scavenger, Deep Pockets — all four synergize to create a self-sustaining combat loop.
-
Vessel: Emberheart (maxed) — the final upgrade adds a radial fire burst when your health drops below 30%, giving you an emergency escape tool.
The key to endgame success is understanding when to extract. Community reports indicate that the loot tables on Floor 8+ are only marginally better than Floor 7, but the risk increases exponentially. The best late game vessel guide covers vessel-specific strategies, but the general rule is: if you've filled your inventory with Tier 2+ furniture, extract immediately.
Advanced Perk Combinations for Endgame
For players who want to push beyond the standard build, the community has identified several advanced perk combinations:
-
Pyromaniac + Emberheart: This combo increases your fire damage by 25% and extends the aura's radius, turning you into a walking hazard for the Corrupted.
-
Veteran + Iron Skin: A defensive pairing that reduces all incoming damage by 15% and increases your max health by 20 — essential for solo runs at depth.
-
Lucky Break + Scavenger: A gold-focused build that increases rare loot drops by 10% and adds a chance to find bonus gold in containers.
Community Tier List Rankings and Build Validation
The grain rot tier list community has been actively testing builds since the demo launched, and their findings align with our recommendations. The official Discord server — which has over 4,100 members according to the Beck & Branch Games website — maintains a pinned thread with community-validated builds for each descent depth.
| Build Archetype | Community Rank | Strengths | Weaknesses |
|---|---|---|---|
| Dropkick + Emberheart | S-Tier | Self-sustaining combat loop, strong AoE | Weak against single-target elites |
| Scorch Rifle + Ashbreaker | A-Tier | Excellent elite damage, safe range | Ammo economy issues on deep runs |
| Pure Melee + Wooden Vessel | B-Tier | Cheap to build, easy to learn | Falls off hard after Floor 4 |
| Ranged Support + Scorchweaver | A-Tier | Great for duos, strong utility | Weak solo performance |
The grain rot optimized build we've outlined — Dropkick + Emberheart with Heavy Hitter, Momentum, Scavenger, and Deep Pockets — consistently ranks in the S-Tier across community polls. It's not the highest raw damage build, but it offers the best balance of survivability, efficiency, and consistency for extraction-focused play.
If you're playing with a partner, the best duo build guide offers specialized recommendations for two-player squads, where one player typically runs a melee tank build while the other provides ranged support. The perk synergy between two players can create combinations that outperform any solo build.
Frequently Asked Questions
What is the best grain rot optimized build for solo players?
The Dropkick + Emberheart combination with Heavy Hitter, Momentum, Scavenger, and Deep Pockets is the strongest solo build. It provides self-sustaining combat through stamina refunds, strong AoE damage from the fire aura, and enough carry capacity for efficient extraction runs. This build excels because it doesn't rely on squad coordination.
How do I use a grain rot tier list maker effectively?
Focus on perk synergies rather than individual rankings. A tier list maker helps you visualize combinations, but the best builds emerge from perks that complement each other — like Heavy Hitter with Momentum, which creates a stamina-positive combat loop. Test your combinations in early floors before committing gold to upgrades.
What's the difference between an early build and an endgame build?
Early builds prioritize stamina efficiency and salvage capacity to help you learn routes and build your Outpost economy. Endgame builds shift toward hybrid combat — balancing single-target DPS for elites with AoE options for swarm control. The transition happens around Floor 4, when enemy density and elite spawns increase significantly.
When should I extract with my optimized build?
Extract as soon as your inventory is full of Tier 2+ furniture, or when your health drops below 50% with no medkits remaining. Community data shows that pushing deeper with a partial inventory rarely pays off — the risk of death outweighs the marginal loot improvement beyond Floor 7.
Does the grain rot tier list community update rankings after patches?
Yes—the tier list shifts within days of each patch. The Discord’s pinned thread tracks post-nerf viability for grain rot optimized builds, while the devs confirm Corruption tuning and vessel reworks ahead. Check Steam patch notes, then compare your Floor 7 loadout against the community’s latest rankings.